Installation Guide
HeliMate Helical Bar Installation Guide
Using EZYBOND Epoxy or EZY Grout – Step-by-Step
Tools & Materials Needed
- HeliMate 6mm or 8mm Helical Bars (1000mm length)
- EZYBOND Epoxy Resin or EZY Grout
- Dual-cartridge applicator gun (for epoxy) or pointing gun (for grout)
- Static mixing nozzle (for epoxy)
- Angle grinder with mortar chaser blade
- Wire brush & air blower or vacuum
- Trowel or pointing tool
- Colour-matched mortar for final finish
- PPE: gloves, goggles, dust mask
Installation Steps
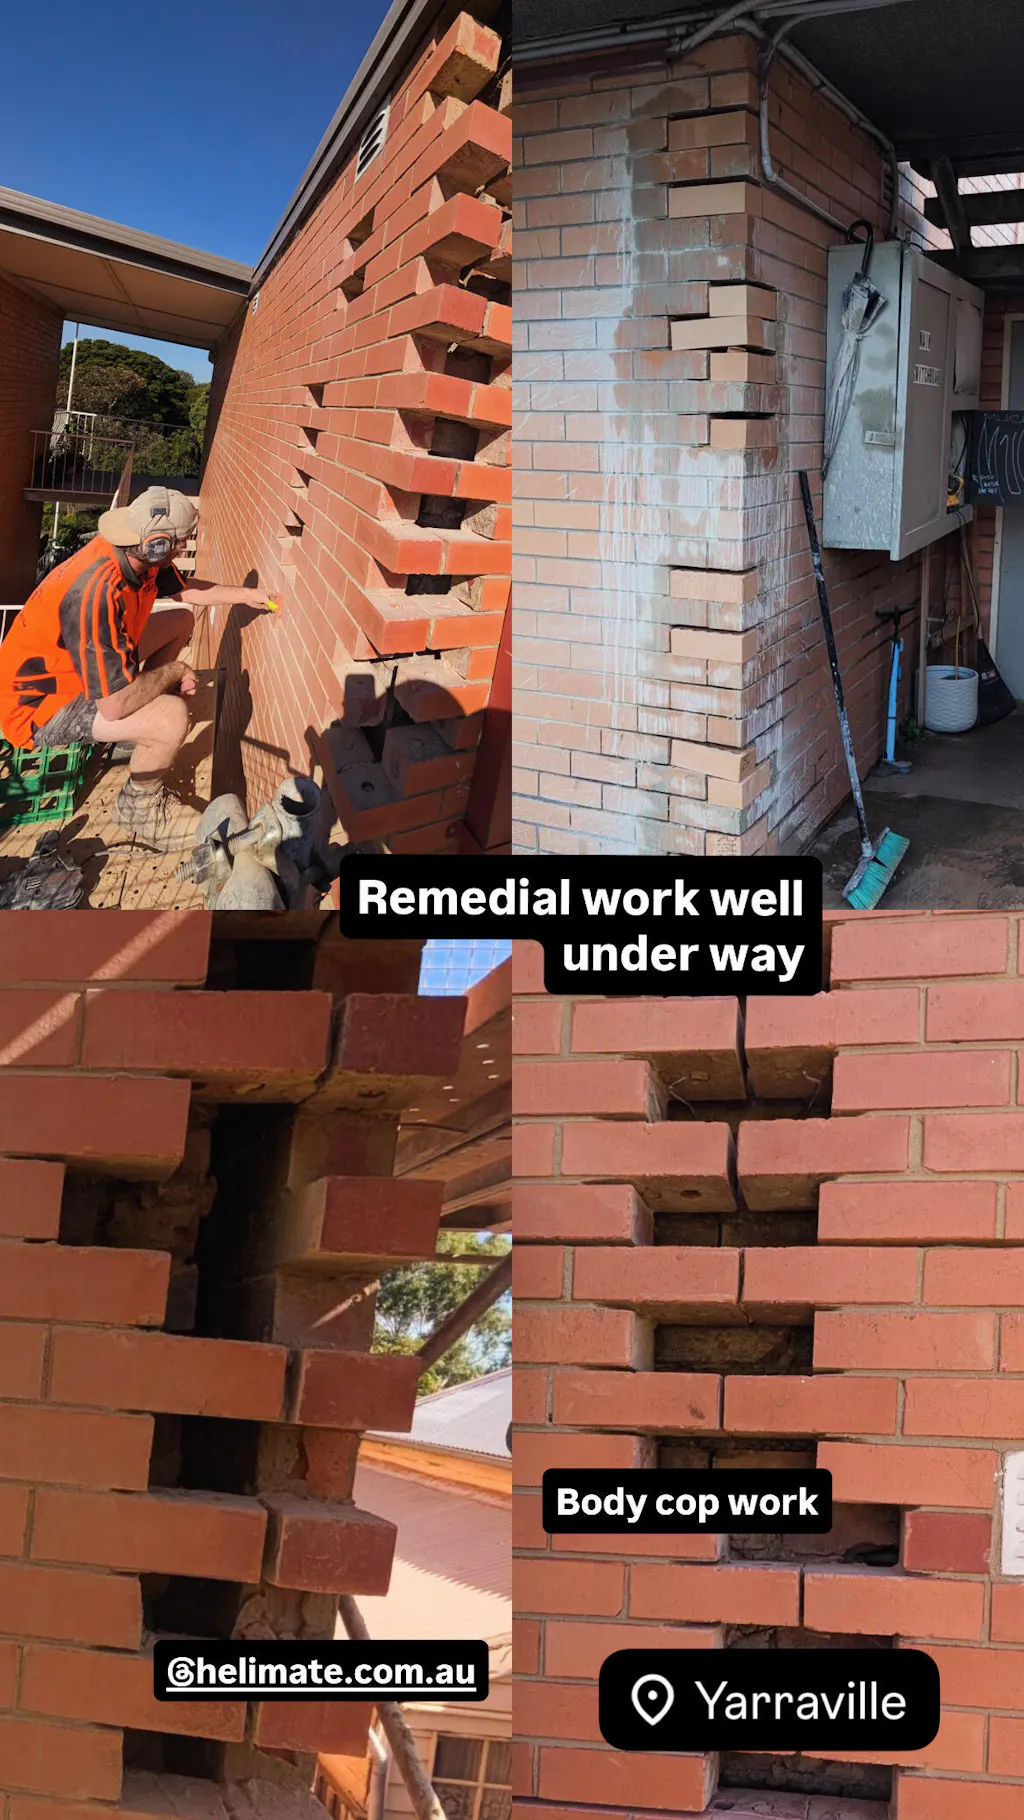
Step 1: Cut Horizontal Slots
- Use an angle grinder to chase horizontal slots into the mortar joint.
- Slot length: 1000mm
- Slot depth: 30–40mm
- Slot width: 8–10mm
- Space slots 450–600mm apart vertically, in alternate brick courses.
Step 2: Clean the Slots
- Remove dust and debris using a wire brush and vacuum or blower.
- Clean slots ensure strong bonding.
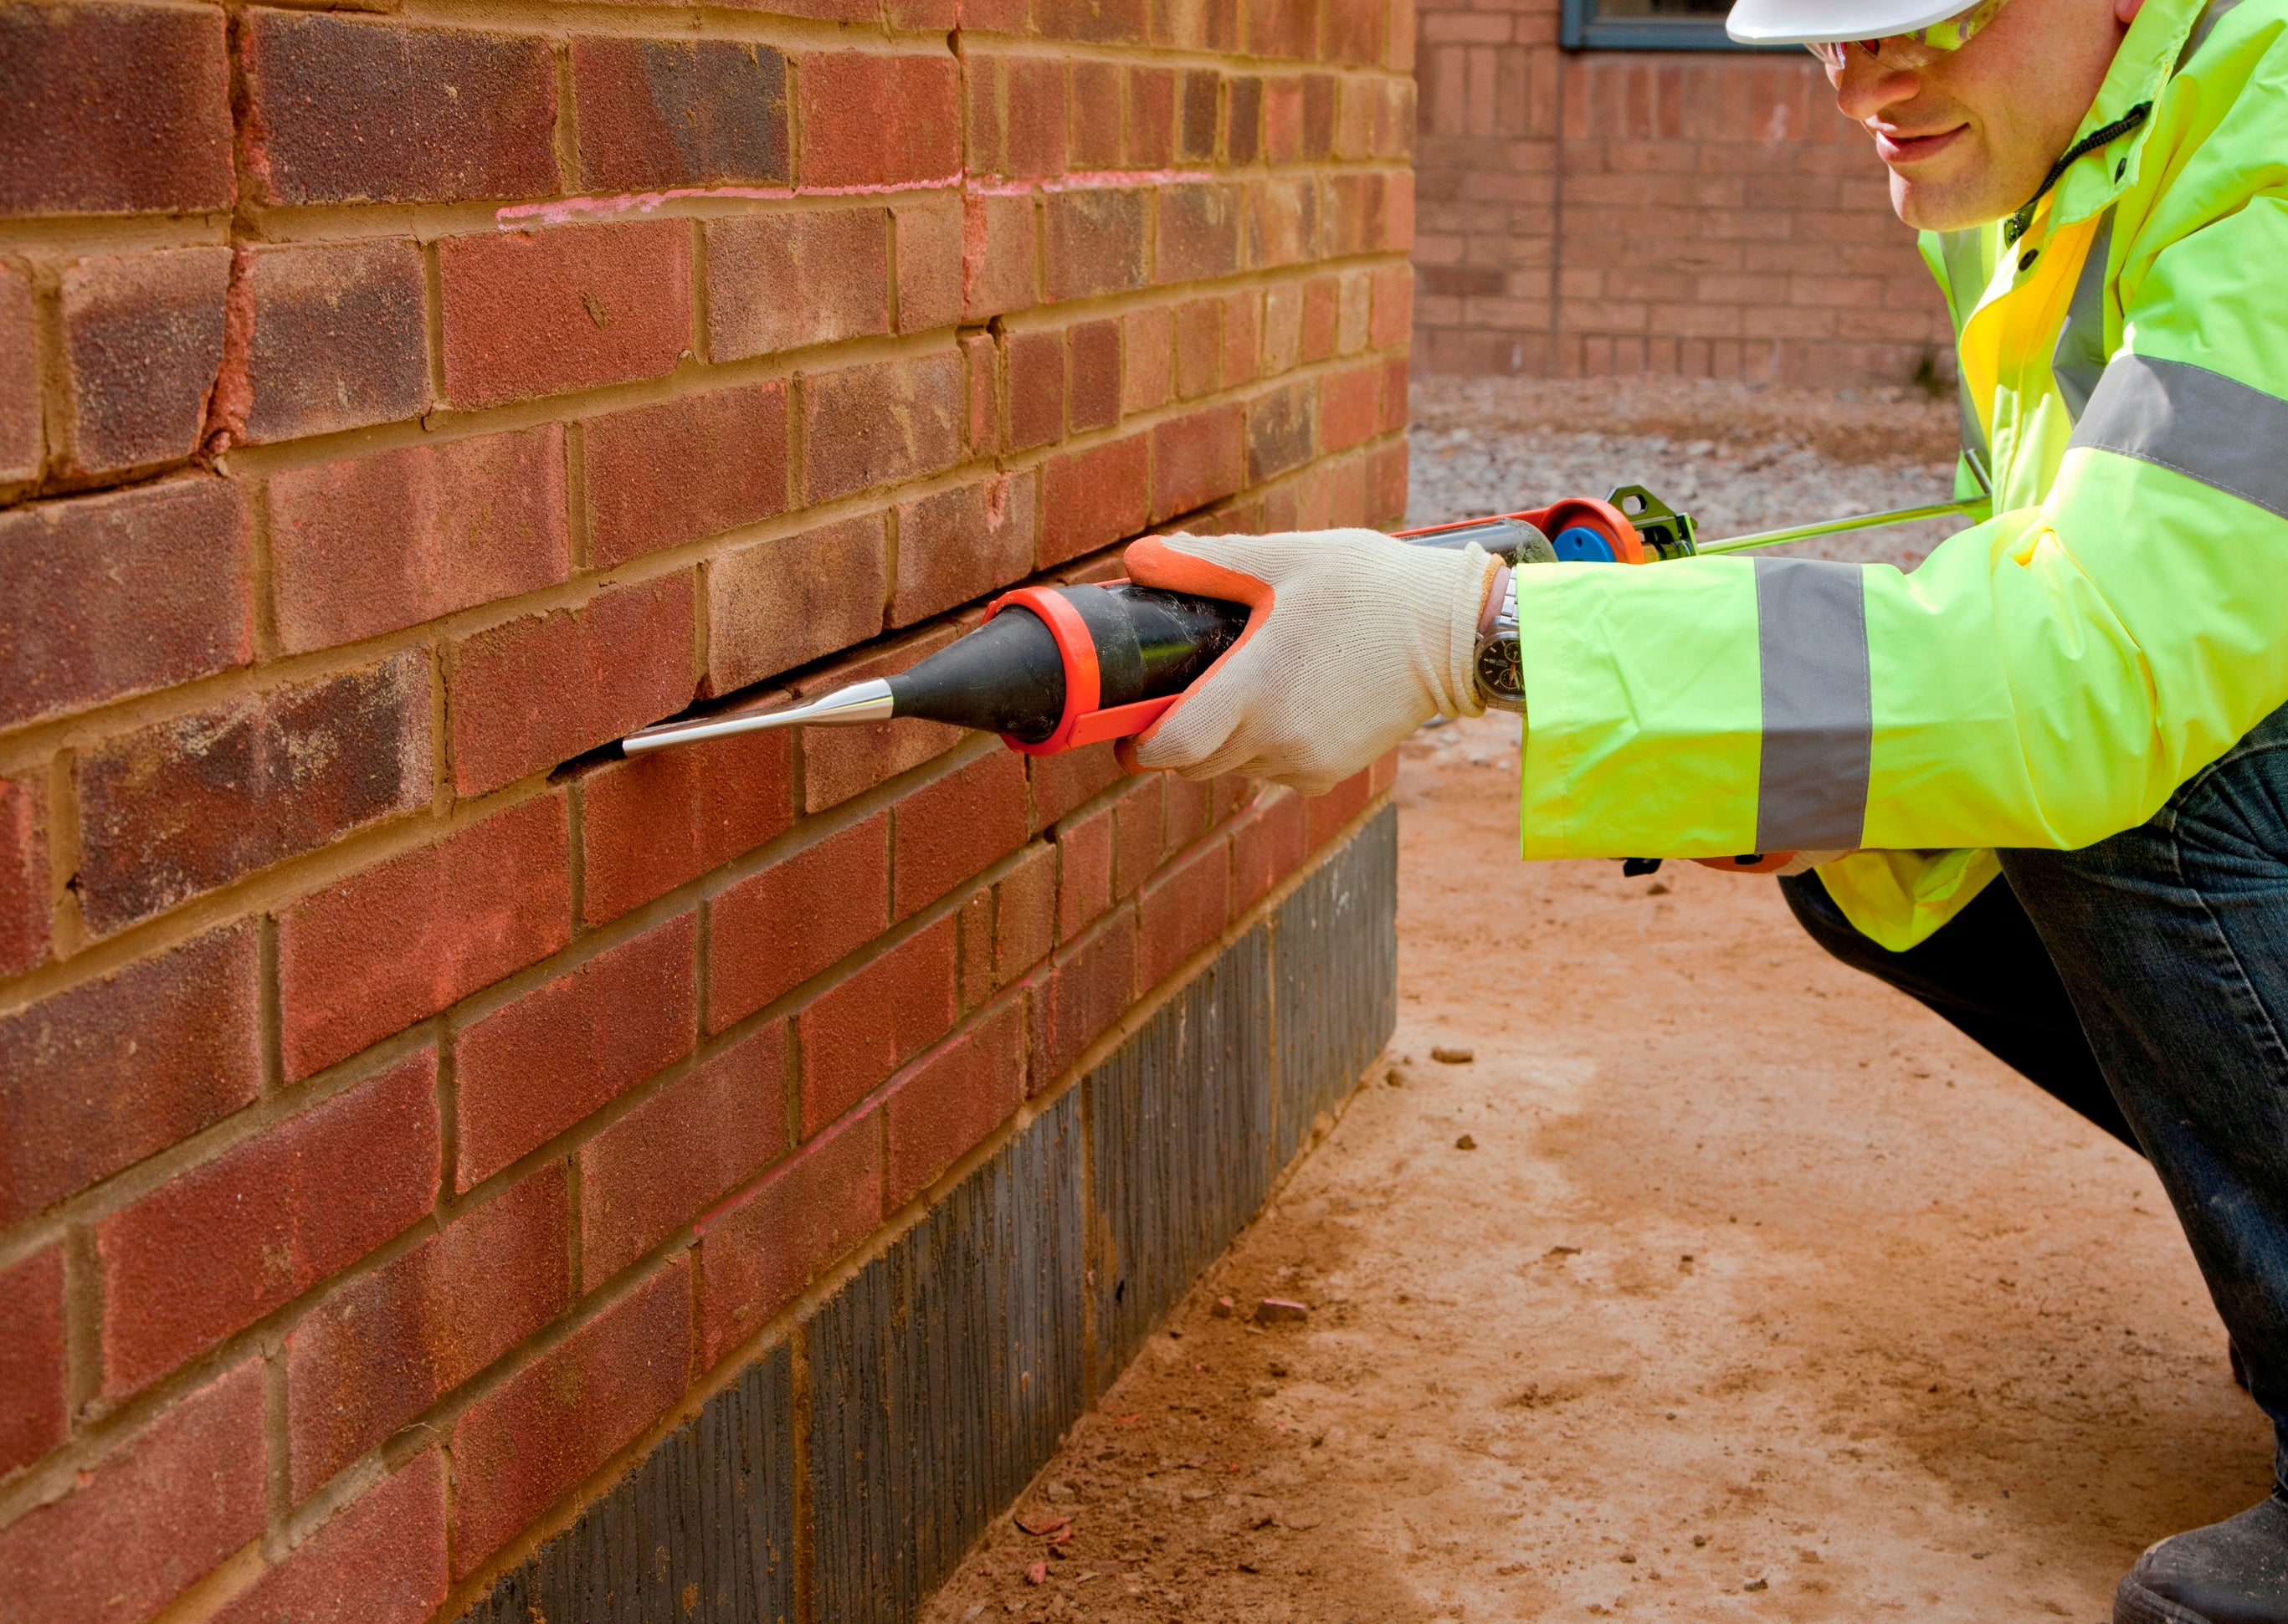
Step 3: Prepare the Bonding Agent
- EZYBOND Epoxy: Load twin cartridges and attach static mixer nozzle.
- EZY Grout: Mix until lump-free and creamy.
Step 4: Apply First Layer of Adhesive
- Inject EZYBOND or EZY Grout into the back of the slot, forming an even bed.
- Fill slot approximately halfway.
Step 5: Insert the Helical Bar
- Push the HeliMate bar (1000mm) into the slot and gently rotate.
- Ensure it is fully embedded in the adhesive.
Step 6: Apply Second Layer
- Cover the bar with more adhesive to fully encapsulate it.
- Finish flush with mortar joint surface.
Step 7: Repoint and Finish
- Once cured, repoint the slot using colour-matched mortar.
- Clean surface and allow proper curing time.
Curing Time
- EZYBOND Epoxy: Sets in ~30 mins | Fully cured in ~24 hrs
- EZY Grout: Refer to datasheet (typically 24–48 hrs)
Pro Tips
- Maintain 450–600mm vertical spacing between reinforcement slots
- Don’t apply in rain or below 5°C
- Always wear appropriate PPE
- Ensure clean, dust-free surfaces for best adhesion